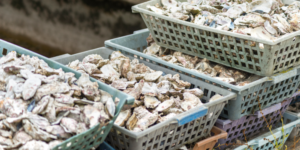
Shucking an oyster is a process that can seem daunting to the uninitiated, but with a little practice it can be easy and fun. Here are the steps:
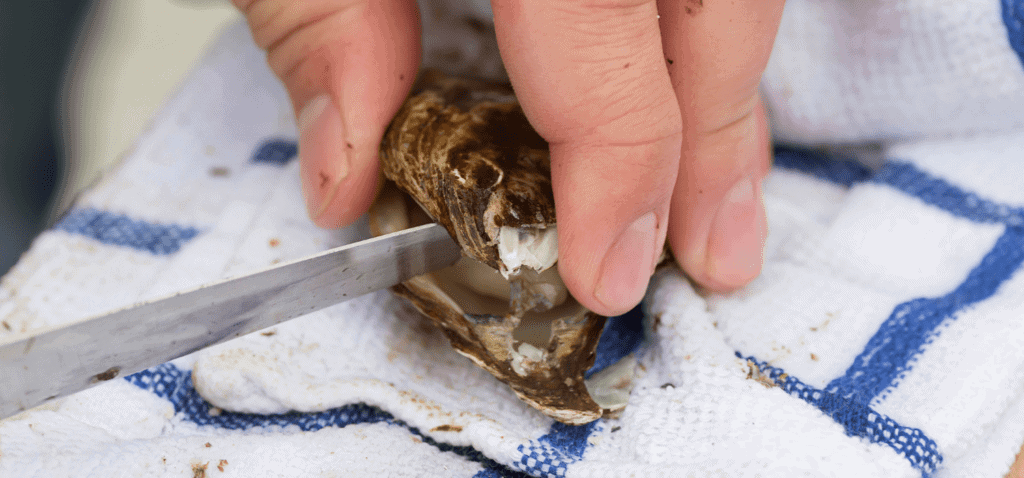
Gather the right tools. It is best to use an oyster knife, also known as a shucking knife. Another thin, flat instrument will do if you have not been able to find one of these knives yet—which includes things like sharp paring knives and flat head screwdrivers that are relatively thin for this task.<br>
Protect your hands. Hold the oyster within an oven mitt or a folded up kitchen towel. <br>
Place the cupped side of the oyster in your hand. Oysters have two sides: a curved, cupped side and a flat side. Hold it with the flat side up so that the liquid doesn’t spill out. The curved side holds the oyster’s liquid. <br>
Identify the oyster’s hinge. Look for the part of the oyster where the shells join together in a tapered point. <br>
Place the knife tip on or near the hinge. You can insert the knife right at it, or next to it. <br>
Twist the knife. Gently twist the knife 90 degrees and wiggle it back and forth until you pop the hinge, allowing the oyster to open slightly. <br>
Separate the shells. After popping the hinge, slide the knife in between them along side of the oyster to cut the adductor muscle holding the shells together. Make sure you’re keeping the knife as close to the top shell as possible, and be careful not to cut the oyster in the process. <br>
Inspect the oyster. After completely severing the top shell, remove it from the oyster. Inspect it and smell it; if it smells fishy, do not consume it. <br>
Remove the oyster from the shell. Run your knife underneath the oyster along the bottom shell. This will sever the oyster completely from the shell. Make sure you are not spilling any of their liquid in the process. Consume them immediately.